Set Custom Live Tile Images for Photos App in Windows 10
Windows 10 comes with an awesome Start Menu and live tiles of your favorite apps. The live tile of apps such as Store and News will features images of featured Games & News. And live tiles for apps like Groove Music and Videos will feature information of the media playing right now. Just like other apps, the Photos app will feature 5 images as a slideshow. All those 5 images are chosen from the Pictures Library and the folders you've chosen in the Photos app.
There is a built-in way to chose a static image as a background in Start Menu Tile of Photos app. But, can you use custom group of images as a slideshow in the Photos app Tile? Yes, you can. It is little complicated process, but you'll be able to do it if you follow the steps carefully. Here is how you should do it.
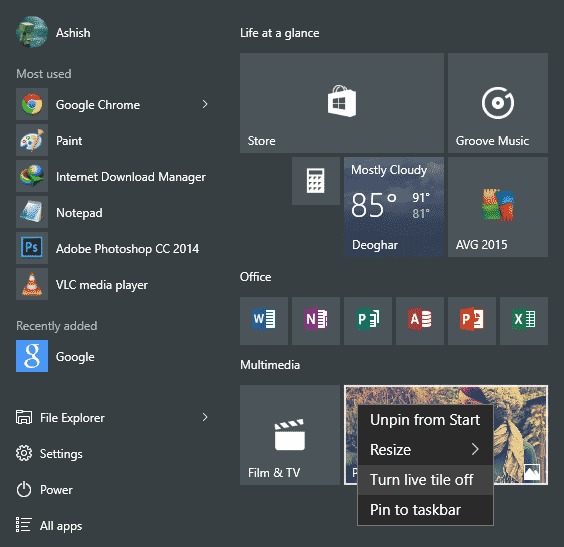
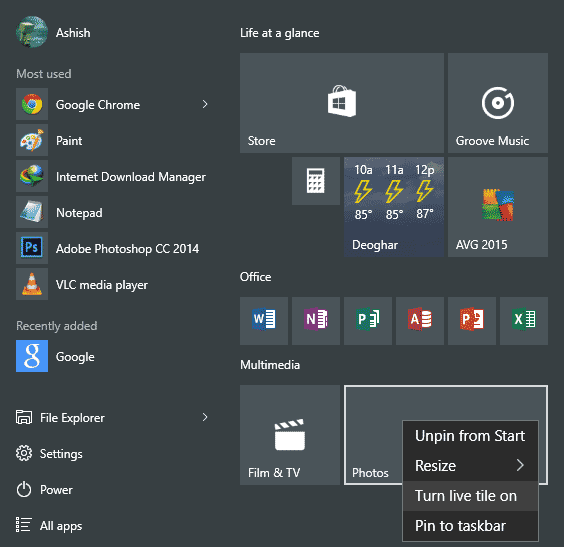
- Go to Start Menu and turn off the live tile for photos app.
- Find 5 images which you want to use as a slideshow in the live tile and rename each image to Tile0, Tile1, Tile2, Tile3, Tile4.
 |
| Choose 5 image and rename it to Tile0, Tile1, Tile2, Tile3, Tile4 |
- Press Windows + R key to open the RUN dialog box.
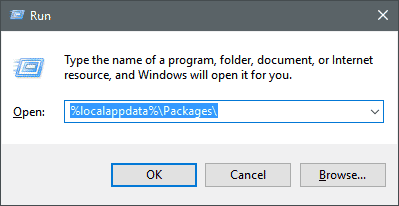
- Type "%localappdata%\Packages\" without quotes in the search box [of RUN] and press OK. It'll take you to the Packages folder.
- Now, you'll find many folders there as shown in the screenshot below.
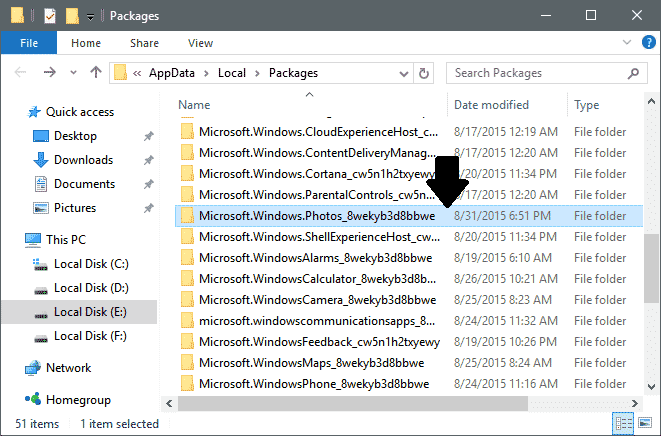
- Go to "Microsoft.Windows.Photos_8wekyb3d8bbwe" folder. There, you'll find a folder with name "LocalState".
Note: The folder "Microsoft.Windows.Photos_8wekyb3d8bbwe" might contain different key in the last part of the name. But I'm not sure.
- "LocalState" folder stores the 5 images which is shown as slideshow in the Photos app Tile. Now copy the five images which you would like to use as a live tile with modifications as explained in step 2 and paste it inside "LocalState" folder.
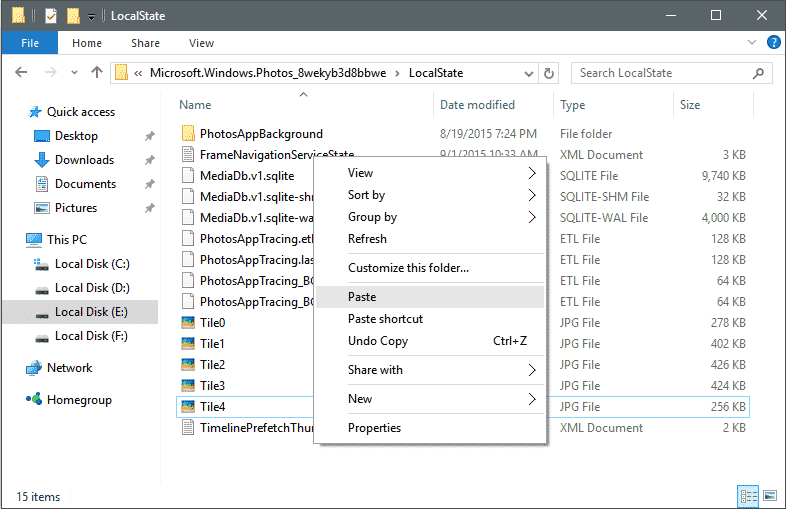
- Turn on the live tile for Photos app again. Yeah! Now It will show you the continuous cycle of the images you've chosen.
- Done!
Read: Change Title Bar Color in Windows 10.
That's all! If you're not interested in the slideshow of images and you want to use a static live tile image instead, you can do it. Follow the simple steps explained below.
That's all! If you're not interested in the slideshow of images and you want to use a static live tile image instead, you can do it. Follow the simple steps explained below.
- Open Photos app.
- Click on the Settings icon in the bottom left corner.
- Scroll down to "Tile" section and from the "Choose what to show on the Photos tile" drop-down, select "A single photo".
- Now click the "Choose photo" button and select the image you want to use as the background for Photos Tile.
- That's it!
If the Tile doesn't update right away, unpin the tile and pin it again.
Actually, it is a Windows 10 bug and sometimes tile doesn't change right
after modifying the changes. That's the reason I have added a step to
turn off the live tile before changing the images for live tile in the
first part of this tutorial.

